This article applies from OLTK 1.1.0 onwards
Top menu bar
You can use the buttons in the top menu bar to add text objects of the following types:
- Text block
- Part numbers
- Part instruments
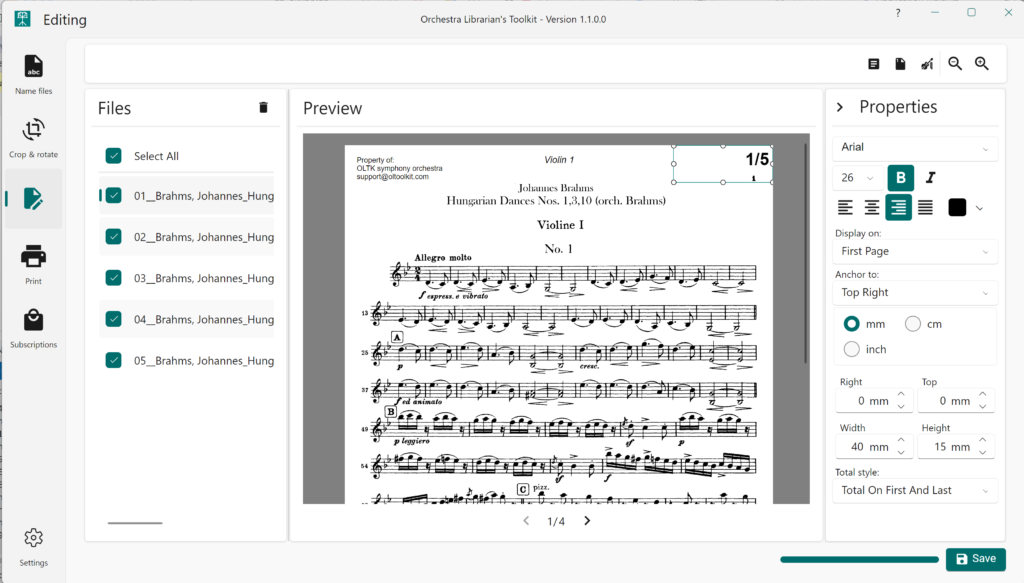
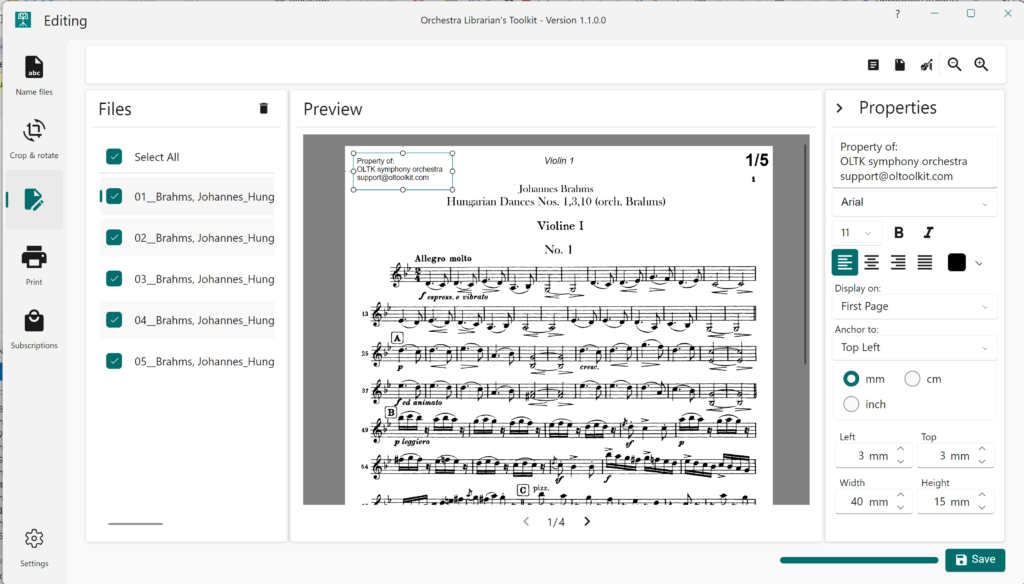
Properties panel
Use the properties panel on the right to adjust:
- Font
- Font size
- Bold/Italic
- Text alignment
- Font color
- Anchor to (think of this as an anchor that your text object’s position is defined relative to)
- Display on (which pages of your file the text object will display on)
- Position, Width, Height (you can choose the units your prefer to work in from mm, cm and in)
Preview area
In the preview area, you can see how each text object looks as a preview on the page of the file you are looking at. The following actions are possible:
- Click on an object to select it.
- Once selected, you can click+drag the object to move it to move it.
- Once selected, click+drag one of the object’s selection handles to resize it.
- Once selected, press the delete key on your keyboard to delete the object.
You can navigate around the preview window in the following ways:
- Click+drag the canvas with the mouse.
- Scroll the canvas using the horizontal/vertical scroll bars.
- Zoom using the zoom controls from the top menu bar.
- Scroll vertically using your mouse wheel.
- Scroll horizontally by holding shift on your keyboard and using your mouse wheel.
- Zoom by holding Ctrl on your keyboard and using your mouse wheel.
Part numbers
Part numbers have an additional property called Total style which can be set in the Properties panel. Total style governs which parts the total number of parts being numbered will appear on.